Bring joy to your home with our cheerful Spring sunflower craft! Dive into our easy spring craft ideas with a happy flower drawing for kids that will brighten any room. Get creative with handmade flower greeting cards and printable spring flower patterns. These bright spring decorations DIY projects are great for kids and adults alike. From paper flower making tutorials to colorful spring flower designs, we’ve got all you need for a fun crafting session!
Welcome to the world of creativity and artistry, where we dive into the enchanting realm of crafting spring flowers.
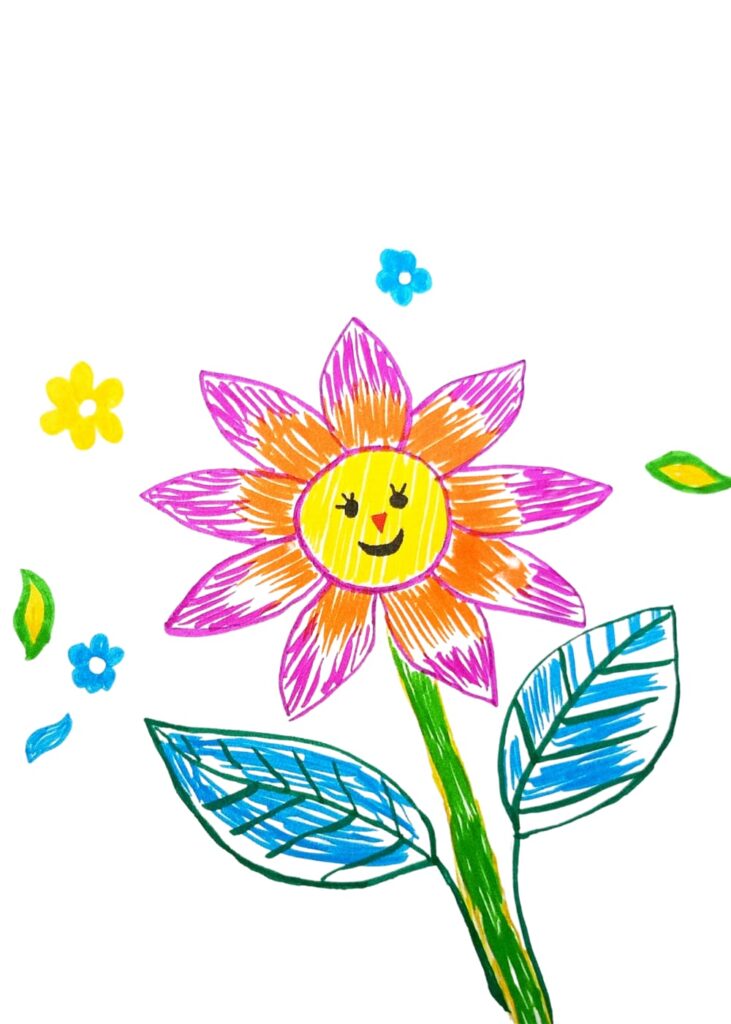
In this exploration, we uncover the magic of hand-drawn spring blossoms, carefully rendered on paper using an array of vibrant pencil colou rs.
Each drawing captures the essence of cheerful and simple spring blooms, designed to engage and inspire young artists in their creative endeavors.

The Art of Hand-Drawn Spring Sunflower Craft For Kids
The beauty of spring flowers lies in their simplicity. From sunflower and dainty daffodils to radiant tulips, children can easily grasp the basic shapes and structures of these blossoms.
The simplicity of these designs makes them accessible to children of all ages, ensuring a gratifying and confidence-boosting creative experience.
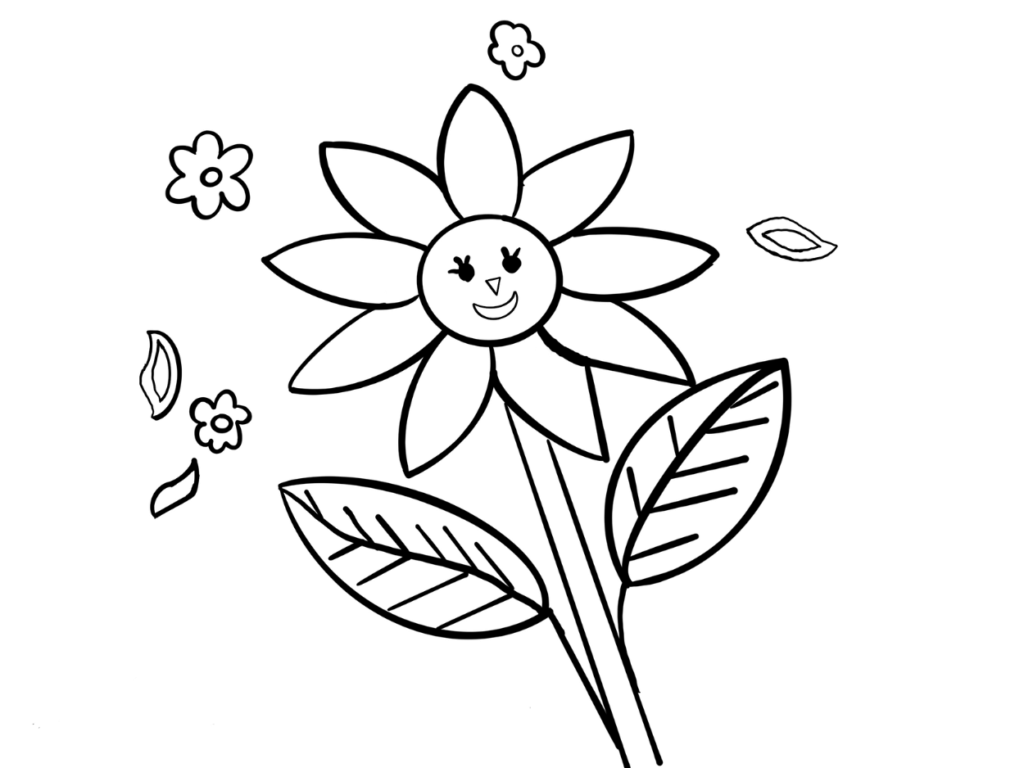
Coloring page for preschoolers
Materials You’ll Need
Before diving into the creative process, ensure you have all the necessary materials on hand:
- Quality Drawing Paper
- Vibrant Pencil Colors
- Standard Pencils and Erasers
- Inspirational Reference Images of Spring flowers
Step 1: Choose Your Spring Flower
Begin by selecting the spring flower you’d like to draw. Popular choices include daffodils, tulips, daisies, and cherry blossoms.
Step 2: Sketch the Outline
With a gentle hand, sketch the basic outline of your chosen flower on the drawing paper. Pay attention to details such as petal shapes and leaf arrangements.
Step 3: Add Details
Add details to your flower, such as the texture of the petals, the center of the flower, and any leaves or stems. Observe the reference image if you’re using one to get an idea of the flower’s features.
Step 4: Choose Your Color Palette
Select the colored pencils you want to use for your flower. Spring sunflowers are often vibrant, so choose cheerful and bright colors.
Step 5: Start Coloring
Now, it’s time to infuse life into your artwork. Use pencil colors to carefully fill in the petals and leaves. Experiment with blending and shading to create depth and dimension in your flower.
Step 6: Add Shadows and Highlights
Step 7: Color the Center
Move on to the center of your flower. Many spring flowers have a contrasting center. Make it stand out by using bold and dark colors.
Step 8: Work on Leaves and Stems
If your flower has leaves and stems, color them accordingly. Green is the most common color, but you can add variation by using different shades of green.
Step 9: Blend Colors
Use a blending technique with your colored pencils to smooth out any harsh lines and create a more seamless transition between colors.
Step 10: Final Touches
Review your drawing and make any final adjustments or details to enhance the overall look of your spring flower.
Step 11: Erase Guidelines
Once you’re satisfied with your drawing and coloring, carefully erase any remaining pencil guidelines.
Step 12: Personalize Your Creation
Encourage your child to add their personal touch to the artwork. Whether it’s a ladybug perched on a leaf or a butterfly nearby, creativity knows no bounds.
Celebrating Your Spring Sunflower Masterpiece
Take a moment to appreciate your beautiful spring sunflower art crafted with colored pencils. You can even sign and date your artwork to mark the occasion.
Encourage your child to explore their creativity by trying different types of spring flowers and experimenting with various colors. This art activity not only allows them to create lovely spring-themed artwork but also helps improve their fine motor skills and attention to detail. Enjoy your art-filled spring!
FAQ’s
1. What age group is this craft suitable for?
This craft is suitable for children of various age groups. It can be adapted to the skill level and patience of the child. Younger children may need more guidance and assistance from adults, while older kids can work more independently.
2. Can I use other coloring materials besides colored pencils?
Yes, you can! While colored pencils are a great choice for this craft, you can also use markers, crayons, watercolor pencils, or even pastels. Experiment with different materials to achieve unique effects.
3. Where can I find reference images of spring flowers for inspiration?
You can find reference images of spring flowers in books, magazines, online by searching, or you can also get from our free coloring books. Encourage your child to choose a flower they find beautiful and appealing.
4. How do I help my child with blending colors?
Blending colors with colored pencils is achieved by layering and gently overlapping different colors. You can demonstrate this technique to your child and encourage them to practice blending on a separate piece of paper before working on their final artwork.
5. How can I encourage my child’s creativity during this craft activity?
Encourage your child to add their own unique touches to their artwork. Ask open-ended questions about color choices and design elements. Celebrate their creativity and let them express themselves freely.
6. Are there any educational benefits to this craft?
Yes, this craft offers various educational benefits. It helps improve fine motor skills, encourages creativity and self-expression, and teaches kids about different types of flowers and colors.